Yarnaholic
What a weekend! Like many others we watched the Superbowl game and snacked the day away. With all that fun going on I was able to finish my husbands much awaited bobble blanket. When I first started it I was planning on having it done for Christmas. Oops! Just a little off schedule. Oh well it's done now. He is happy the blanket is done and sad that football season is over.
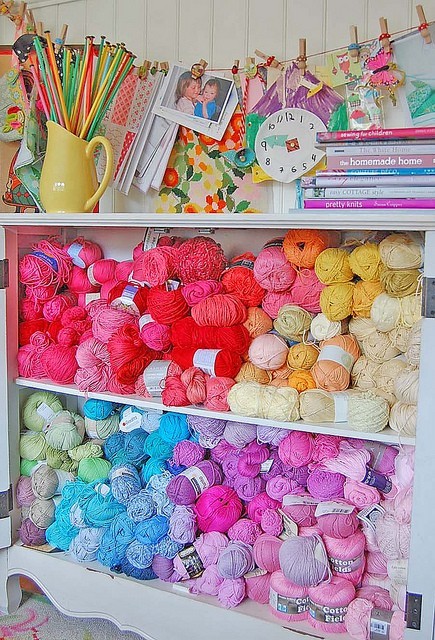
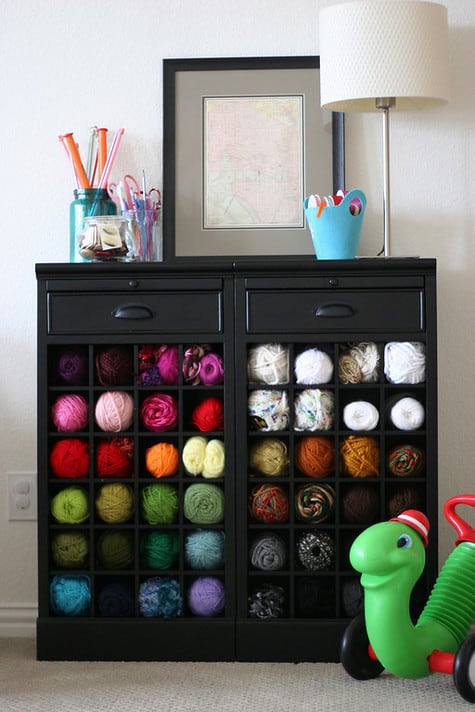
I like to have a lot of yarn on hand. I normally keep a nice stock so I can make whatever I have in mind without having to go to the store for each project. But with Christmas and all my hat orders I used up all my yarn. All I have left was a few small bits and pieces left. So I went on yarn spree and stocked up. My basket is now full again. :) But I could always use more. A girl can dream right. Maybe Mr T wont mind if he shares his room with my yarn.
 | ||
 |
Teething Crib Bumper
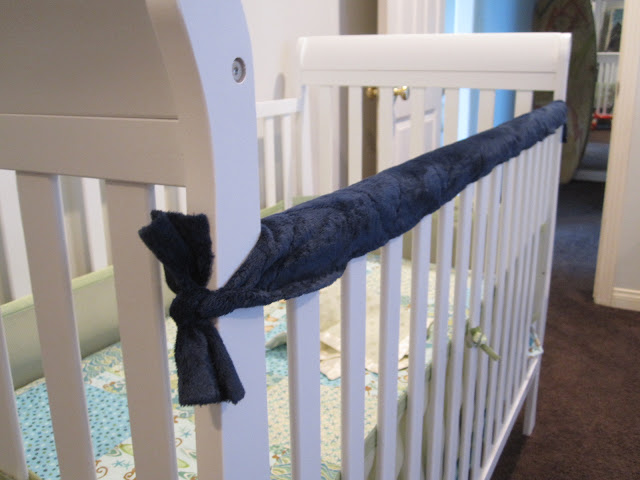
I saved Mr T's crib from his alter ego the teething monster today!
I was looking online for a product that would save the cribs railing and didn't see anything I really liked. So I googled the DIY methods and saw how easy it would be. So I got right to it today and made a simple Minkey cover
It was three simple steps.
1- Measure the railing, mine was 53" So I cut a rectangle out measuring 59"x8" and cut 3"x1" out of each end. I layed some batting down the center and pinned it to the minkey.
2- Fold in the minkey and bind it to the edge of the batting. I also sewed a zig zag stitch quilting the layers together.
3- Measure the spacing of the rails for the ties and pin and sew them in place.
Bing bang boom the railing cover is a perfect fix! The bows didn't last long, Mr.T had them all untied in seconds. So ended up tucking the extra ribbon into the cover.

Happy Holidays
....
We are so excited for Mr T's first Christmas! I got all my holiday orders done and mailed off, a few presents hidden away waiting for wrapping and stocking stuffing. I think this is the most excited I have been for Christmas for a long time.
Pennant Bunting
I am finally adding some small touches to Mr T's room to finish it off. I made a special doorway pennant bunting to match the vintage quilt for the twin bed in his room. I love how
it hangs on both sides of the door. So he can see it when the door is closed or open. It looks good and I will make a step by step tutorial soon:) His room had a beach/surf theme, so I picked out a few of our favorite oil painting and surf art and made a little collage and it had just enough room for his name to be added to the bottom corner. The letter just need a quick painting and I will post his whole room soon.
.....
My crochet projects have been smalls. I sell a lot of my creations at a local shop. So with Christmas on the way I am trying to stock up the stock. The headbands bows had all sold out so I started a new batch. I really liked all the pinks, reds and greens together it was kind of a bright happy Christmas batch. I also started a few Owl purses to stock up the shop as well. They use
up a lot of the small balls leftover and really clean up my basket its a
win win project. And just to top it all off there are a bunch more bear, flower, puppy and kitten hats. I also had a cool custom order for a couple Mexican Wrestler team hats. I have never made anything like them and it was a fun challenge. The best part is they were well loved by my customer. There was another custom order for a newborn that will be her in early December.
Subscribe to:
Posts (Atom)


