Colorful Cubes Tutorial


The fun thing about crochet is you can modify any pattern to you liking.

Here is a loose pattern for the colorful cubes I have been making for my much loved pillow shams.


Hook 4.00 mm / G6

Chain 4 slip stitch together, or magic circle.  Whatever you like best.

Round 1: Chain 3, 2 DC, *Chain 2, DC 3 stitches, repeat at * 2 more times, slip stitch to finish round.


Round 2: Chain 3, turn work (optional) *2 DC, chain 2, 2 DC into corner.  DC in the next 3 stitches, Repeat at * all the way around.  Remember your chain 3 counts as a stitch so you only need 2 DC on the last side, slip stitch to finish round.

 
Round 3: Chain 3, turn work, DC in each stitch and 2 DC, chain 2, 2 DC into corners.  Slip stitch to finish round.


You now have your first cute little cube.
I am addicted to joining as you go.  I swear it cuts out a lot of time on projects.

I join each cube once in the corner, once in the center and again in the corner with a simple slip stitch.
Then back to finishing off the round.


 Ta Da!!  Now just repeat process till you have the size block desired.
Makes a super cute pillow, blanket, bag, or really anything!!


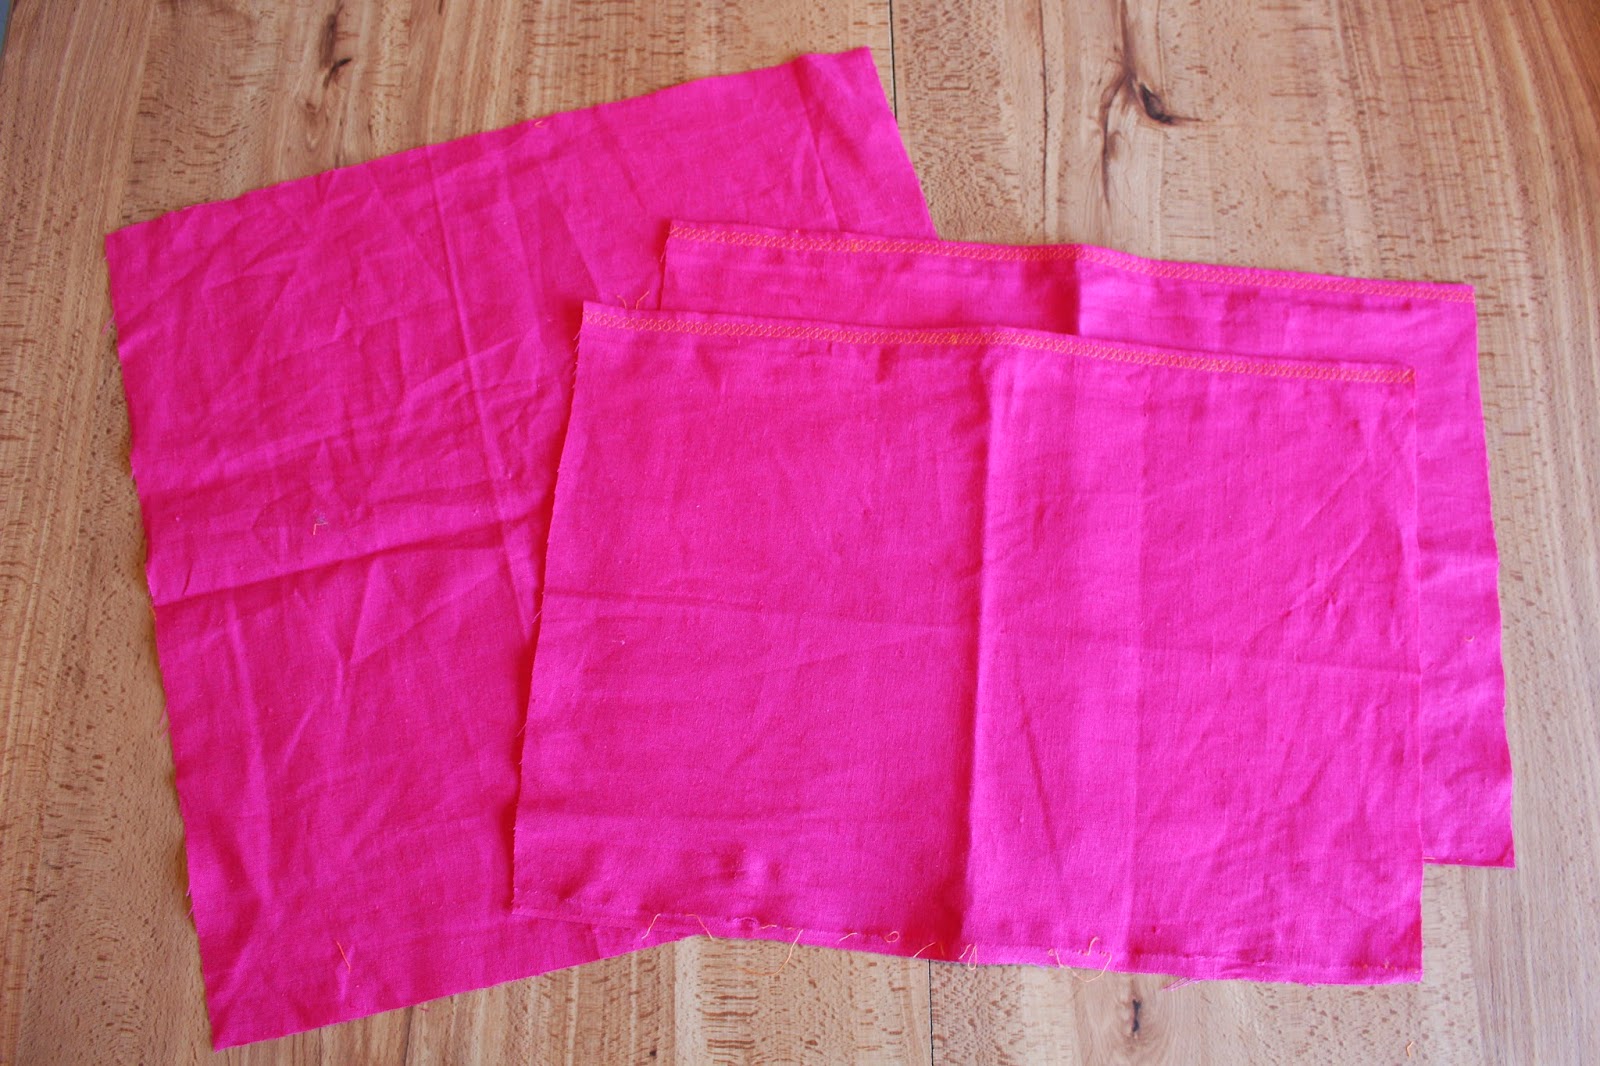
Here is the TUTORIAL for sewing the pillow sham together.

I would love to see you project!!  Email or tag it on Facebook.  Happy Hooking!

Single or Double


I could never have enough plants or pottery in my home.  Because Pothos plants are such easy houseplants and grow very quickly, there is an abundance of clippings waiting to be planted.  So today I took advantage of an empty hook in my kitchen.  I didn't plan on making it a double hanger, but I didn't make the red one long enough.  I love the double, it fits just right.
Now where else can I squeeze in another plant....


Cushion Crush


Another new pillow ready to cozy up with went into the shop yesterday.
She is a beauty!  I love the color palette on this one.  Each one has inspired the next and I think they are just getting better and better. 

Life Is Beautiful


I started this little beauty on a whim Sunday night.  After browsing on pinterest I knew just what I wanted to make.  Obviously it was way past my bed time, because I didn't notice the "f" in life was backwards.  It might be time for me to brush up on my cursive writing skills.    


The flower "i" and the bird are my favorite.

Needs a little felt to cover the back but other than that she is ready to hang up.
Can't wait to try out a few other ideas I have bouncing around in my head.

Summer Heatwave

Summer is here.  It's been HOT the past few days and I have been incredibly unmotivated to do anything but nap, drink smoothies and play with my son in the sprinkler.

Today we spent a whole hour with the water on before 11:00!  It's so HOT!!
All I can think about are cold treats to make it through the day.  Here are a few of the treats I can't wait to make.  I have a feeling this is going to be one hot summer.  
August and baby #2 can't come soon enough!

http://ieatgrass.com/2011/07/639/http://www.pinterest.com/pin/492440540478332764/
        Peach Pie Popsicle               Raspberry Cheesecake Popsicle

http://www.gimmesomeoven.com/pineapple-orange-banana-popsicles/ 
Pineapple Orange Banana Popsicle

http://spicedblog.com/chocolate-vanilla-swirled-pudding-pops.htmlhttp://passthesushi.com/peanut-butter-oreo-popsicles/ 
              Pudding Pops                  Peanut Butter Oreo Popsicles

Click images for recipes

Monday Morning


 I have officially decided to make a set of pillows for myself!
They just look so sweet and happy, I can't help myself.

I apologize to hubby in advance.  Our bedroom is slowly getting yarn bombed, and my pottery has taken over our bookshelf.  My two newest additions are the McCoy Pebble planters.  Pink doesn't really match the decor in the room, but it does match the surfboard that has recently made it's way inside.


Pillow Sham Tutorial


Happy Friday!!  Here is a quick tutorial for the pillow shams I have been making.

 Crochet a block for a front piece of your pillow.
Measure your block, mine was 16" x 16", because the crochet has a little stretch when sewing it to the fabric cut your fabric panels 1/2" larger than your block.
 
You will need one 16 1/2" x 16 1/2" piece
& two 16 1/2" x 11" with finished edge on one side
I like the envelope panel on the back to overlap about 4" give or take a little.

Pin (very important) and zig zag stitch your crochet block to the large fabric panel.

Sandwich your crochet in the middle of your fabric, pin the envelope panels wrong side up.
Zig zag around the pillow, getting close to the edge securing everything nicely.
I like to go around again with a straight stitch keeping 1/4" seam allowance and just making sure its not going to come apart.
 

Clip your threads, turn inside out, and adore your new pillow sham!


 You just might get a little addicted to this lovely little project.  
They turn out so cute you just might find it hard to stop yourself.  I know I did!!