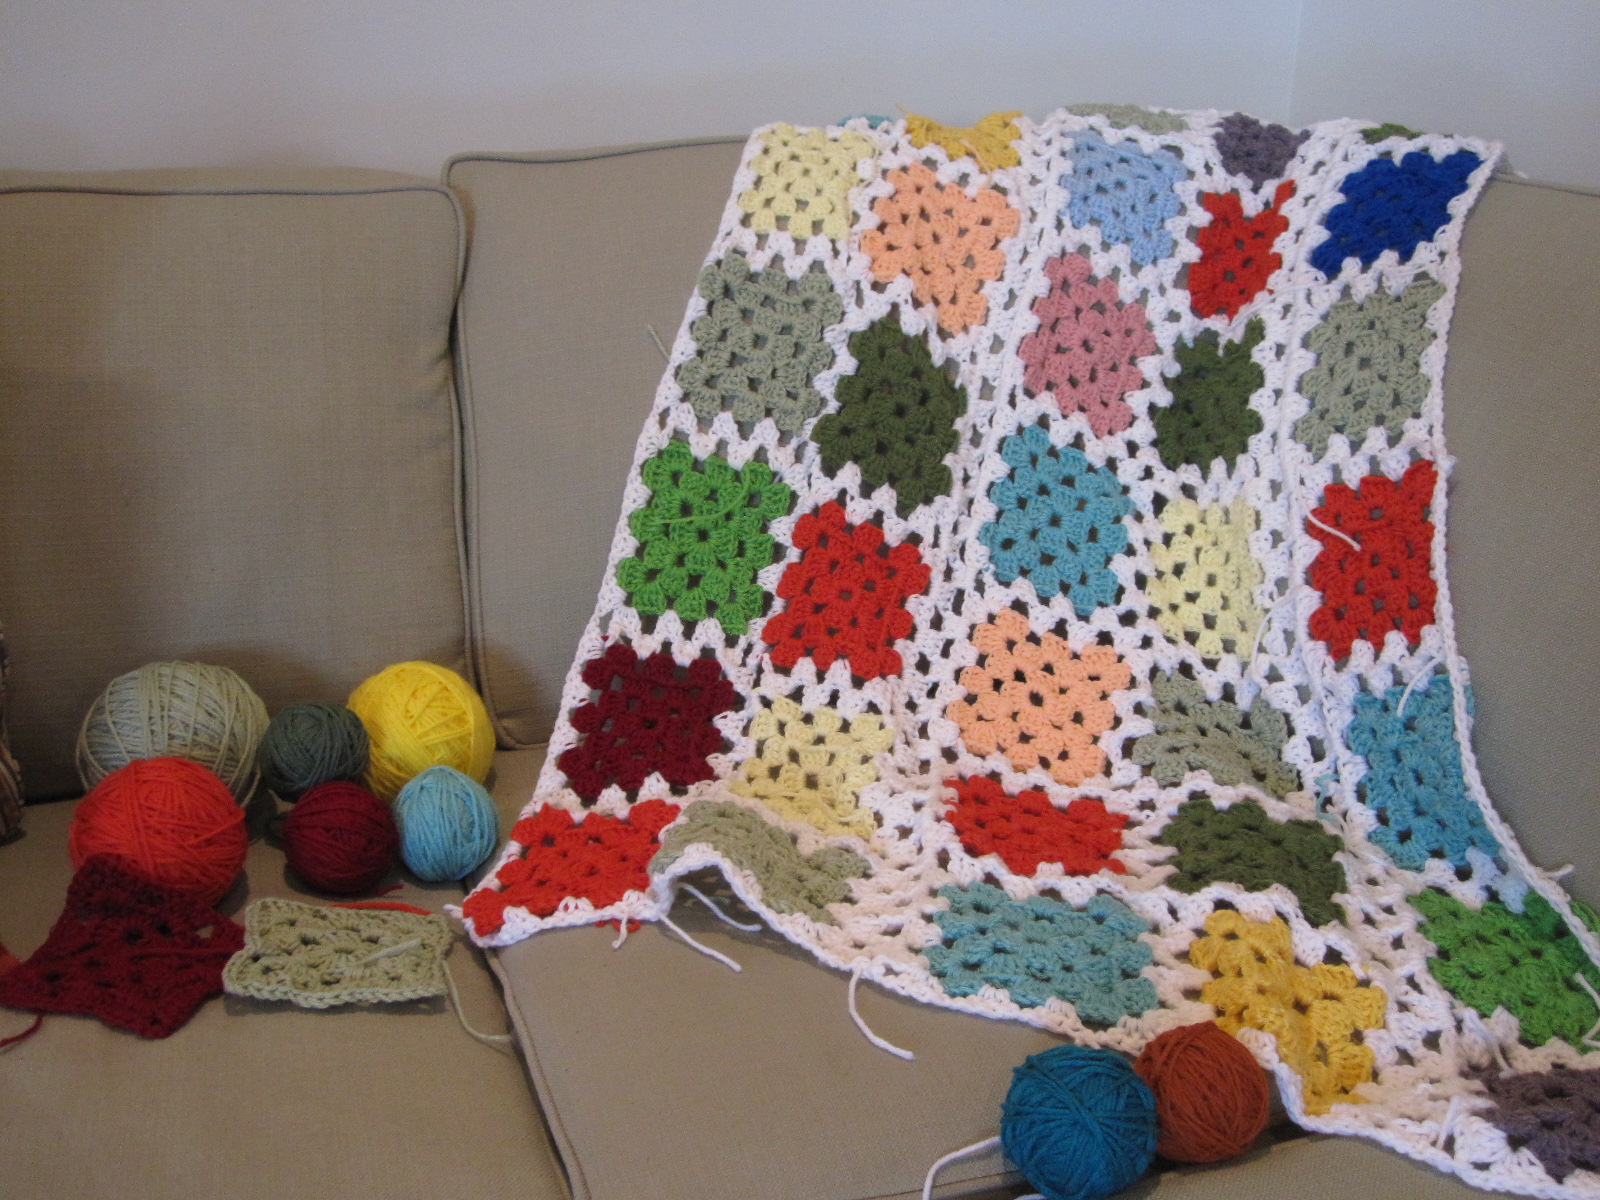
Compleated Blanket #2
I am so thrilled with this project. It came together so fast and I couldn't be more happy with the outcome. This is my second big blanket and I am really proud of my self for completing bigger projects other than hats, purses and what not.
This was a really great stash buster. Even really small scraps I was able to get a granny square or two out of them and all the colors mixed together great. I still have a few random balls stashed away in my handy ziploc bag of scraps that I think I just found the perfect project really quick for.
Great video tutorial by Bobwilson123 on youtube!!!
Yarn Bandit
My little yarn bandit, he loves Red Heart yarn just as much as I do.
After all the squares were made I had to contain my little one so I could get them all in place without him destroying them. I got right to joining them together using a great tutorial I found here. I love how seamless it makes it look. There was a slight miscalculation with the outer squares and I had to add a filler row to match up the outer squares. I was a little disappointed but I am over it now.
Yarnaholic
What a weekend! Like many others we watched the Superbowl game and snacked the day away. With all that fun going on I was able to finish my husbands much awaited bobble blanket. When I first started it I was planning on having it done for Christmas. Oops! Just a little off schedule. Oh well it's done now. He is happy the blanket is done and sad that football season is over.
I like to have a lot of yarn on hand. I normally keep a nice stock so I can make whatever I have in mind without having to go to the store for each project. But with Christmas and all my hat orders I used up all my yarn. All I have left was a few small bits and pieces left. So I went on yarn spree and stocked up. My basket is now full again. :) But I could always use more. A girl can dream right. Maybe Mr T wont mind if he shares his room with my yarn.
Teething Crib Bumper
I saved Mr T's crib from his alter ego the teething monster today!
I was looking online for a product that would save the cribs railing and didn't see anything I really liked. So I googled the DIY methods and saw how easy it would be. So I got right to it today and made a simple Minkey cover
It was three simple steps.
1- Measure the railing, mine was 53" So I cut a rectangle out measuring 59"x8" and cut 3"x1" out of each end. I layed some batting down the center and pinned it to the minkey.
2- Fold in the minkey and bind it to the edge of the batting. I also sewed a zig zag stitch quilting the layers together.
3- Measure the spacing of the rails for the ties and pin and sew them in place.
Bing bang boom the railing cover is a perfect fix! The bows didn't last long, Mr.T had them all untied in seconds. So ended up tucking the extra ribbon into the cover.
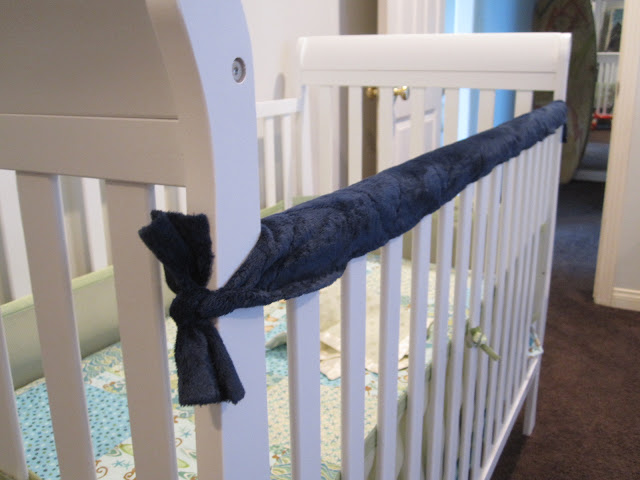
1- Measure the railing, mine was 53" So I cut a rectangle out measuring 59"x8" and cut 3"x1" out of each end. I layed some batting down the center and pinned it to the minkey.
2- Fold in the minkey and bind it to the edge of the batting. I also sewed a zig zag stitch quilting the layers together.
3- Measure the spacing of the rails for the ties and pin and sew them in place.
Bing bang boom the railing cover is a perfect fix! The bows didn't last long, Mr.T had them all untied in seconds. So ended up tucking the extra ribbon into the cover.
Subscribe to:
Posts (Atom)